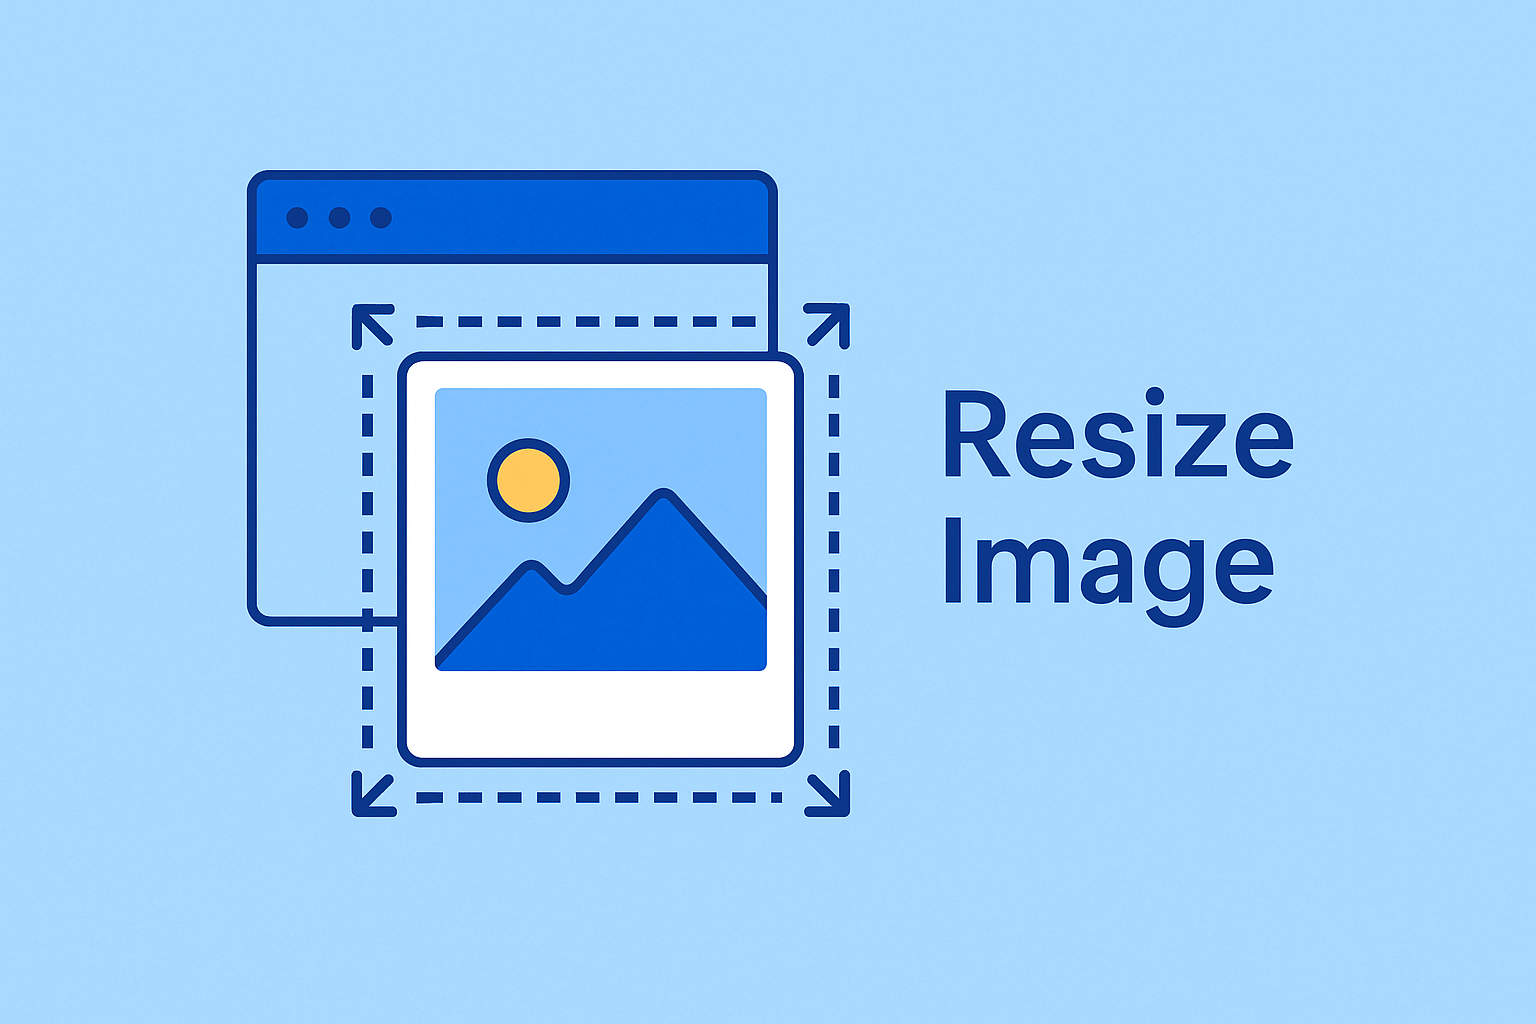
If you see an error when uploading an image, it may be because the file is too large. Don’t worry — resizing your image is quick and easy. Here’s how to do it on iPhone, Android, macOS, and Windows.
iPhone (iOS)
- Open the Photos app and select your image.
- Tap Edit, then use Crop to reduce size.
- To export at a smaller file size:
- Tap Share → Mail → select Small or Medium size.
- Save the resized image from Mail back into Photos.
- (Tip: Free apps like “Image Size” in the App Store make resizing even easier.)
Android
- Open your image in the Gallery or Google Photos app.
- Tap Edit → look for a Resize option (sometimes under “More” or “Export”).
- Choose a smaller resolution and save a new copy.
- (Tip: Some Android phones let you set a lower resolution in the Camera Settings before you take a photo.)
macOS
- Open the image in Preview.
- From the menu, go to Tools → Adjust Size.
- Enter smaller dimensions or lower resolution (e.g., 72 dpi).
- Click OK, then Save.
Windows
- Right-click the image → Open with → Photos.
- In the top-right, click the … menu → Resize.
- Select one of the preset smaller sizes (e.g., “Best for emails and messages”).
- Save the resized image as a new copy.
Recommended File Size
For best results, keep images under 3.5 MB. Reducing resolution usually shrinks the file size without making the picture look worse on screen.
If you still have trouble uploading, please contact our support team